Grab some leaf cookie cutters and bake cookies using one of our
recipes or your own. For every 2 1/2 dozen leaf cookies, make a batch of frosting using one of our
frosting recipes.
Color about 2/3 cup of frosting dark brown using Chocolate Brown coloring. Prepare a disposable bag with a #2 tip and fill with the brown frosting. Close tightly with a rubber band and set aside.
Divide remaining frosting in half. Color one half red and the other half yellow. Turn red and yellow frosting into glaze by adding water, a few drops at a time, until it is a thin consistency. A drop of the icing should disappear into the mass on the count of 6 or 7. It will be similar in consistency to school glue: fairly runny, but not so thin that it's hard to control.
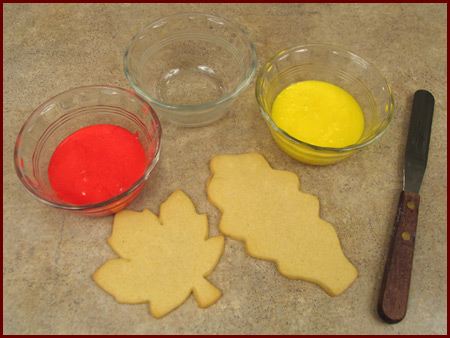
To set up your station, have the red and yellow glaze in separate bowls. Have a third (empty) bowl available for scraping mixed colors into as you go. As you swirl the colors together in later steps, you will want to keep the glaze colors as pure as you can. It may also help to have a clean damp cloth on hand to occasionally wipe off your spatula.
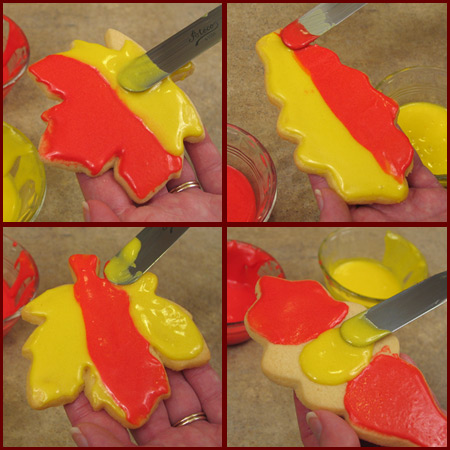
To create the blended effect on the leaves you will first need to apply two or three solid sections of thick glaze on the leaves. This can be done in a variety of ways. See the illustrations above for some ideas.
Hint: If you are decorating several cookies, try a variety of patterns to make each leaf unique.
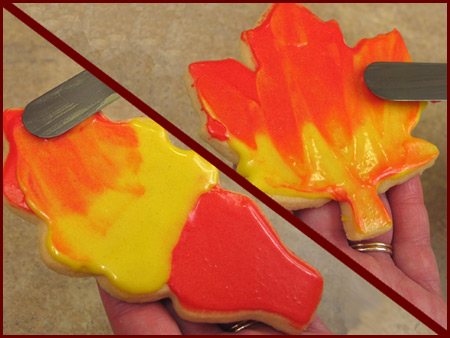
Use the spatula to lightly blend the colors into one another.
Take care not to blend too much as the colors will eventually mix completely, making solid orange.
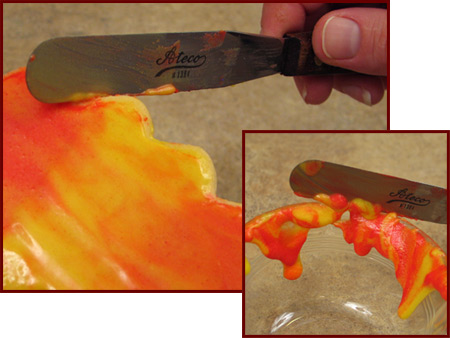
After blending, use spatula to clean off excess glaze from the edges of the cookie. Remember to scrape your mixed colors into the extra bowl.
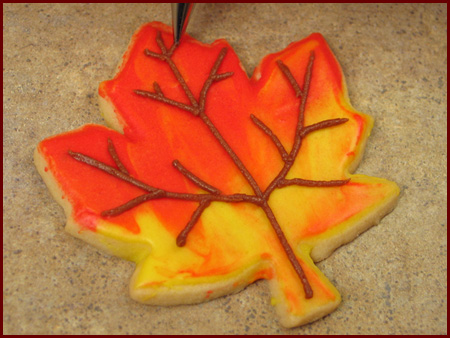
Pipe veins onto the leaves using brown frosting. Use the shape of the cookie as a guide.
NOTE: Alternatively you can run veins into the leaf while it's still wet as shown here. This is kind of a neat effect as
well, and the veins will end up laying flat along with the base colors. To do this we placed a "blob" of brown
glaze down on the stem of the leaf and use a cookie scraper tool (you can also use a tooth pick) to drag the
veins up through the leaf.
You can also wait until it dries and simply
draw the veins on with a black, brown, or red food coloring marker.
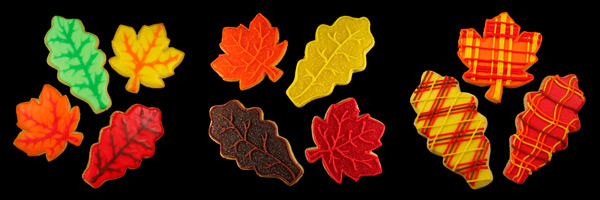
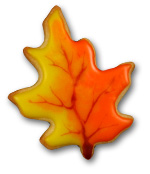
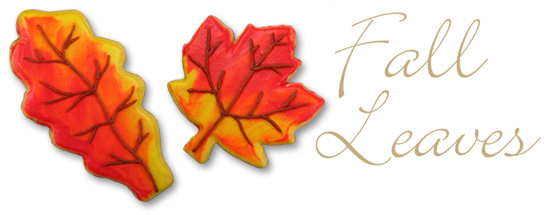
Pictured above are just a few more designs you can create with leaf cookie cutters. Of course,
there are limitless other techniques you can apply. Get creative and see what you come up with.
Good luck!