
Bake a batch of cookies using one of our
recipes or your own. For every 18 Santa cookies, make a batch of frosting using one of our
frosting recipes.
Color two-thirds of frosting white, using several drops of Bright White food coloring. Divide remaining frosting in half and color half of it black and half red. Remove about 2 tablespoons. of the white frosting and add approximately 1/2 teaspoon of the red frosting (not food coloring!) to it; stir to make a light pink color. To make flesh tone, remove about 1/4 cup of the white frosting and add a half-drop of orange food coloring. I do this by adding a full drop and then removing half of it with a paper towel before mixing in.
Prepare 4 decorating bags by inserting a coupler into one, and tips 2, 3 and 4 into the others. Place tip #16 on the coupler and secure the ring. Fill the coupler bag with the white frosting and the #2 bag with black. Fill the #3 bag with 2-3 tablespoons of the red frosting, and fill the #4 bag with the pink frosting. Close all bags securely with rubber bands.
Turn the remaining red frosting and the flesh tone frosting into glaze by adding water a few drops at a time, until it is a thin consistency. A few drops of glaze should disappear into the mass by the count of 6 or 7.
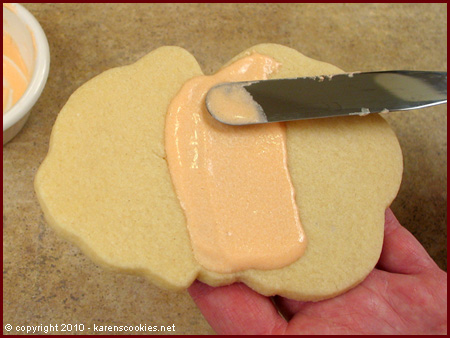
Glaze the face area with the flesh-colored glaze. This will be about the middle third of the cookie.

Clean off the spatula, then glaze the hat area red. Allow to dry for several hours.
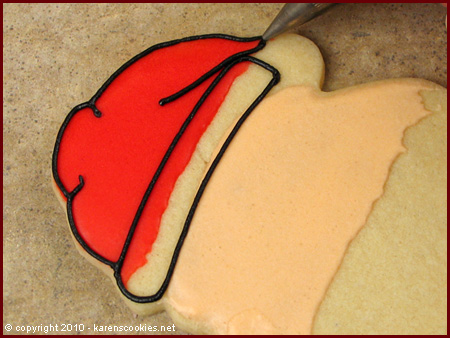
Outline the hat. Using black frosting, start with a wide strip for the hat brim. Continue around the top edge of the hat, adding lines for folds and tip of hat. You will not need to outline the pompom.
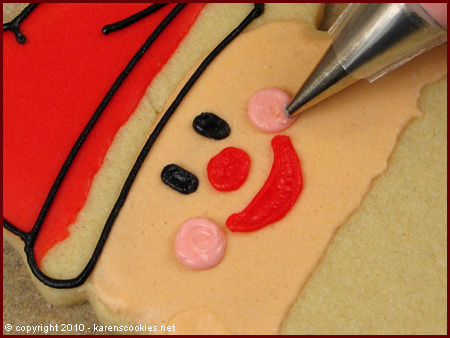
Pipe black ovals for eyes about 1/4 inch below the hat. Add a red circle for the nose, and a large crescent for the mouth about 1/4 inch below the nose. Add two pink circles on either side of the mouth for the cheeks.
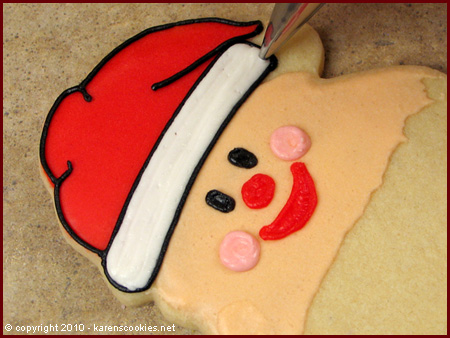
After all Santa faces have been piped, wash out the #4 tip used with the pink frosting and place it on the white bag with coupler. Fill in the hat brim. While white frosting is still wet, quickly move on to the next step.
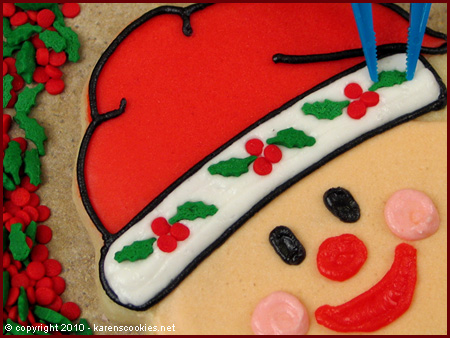
Use tweezers to position holly and berry accents along the brim of hat. Starting at the center, position three berries and two leaves. Repeat this process on either side of the center grouping.
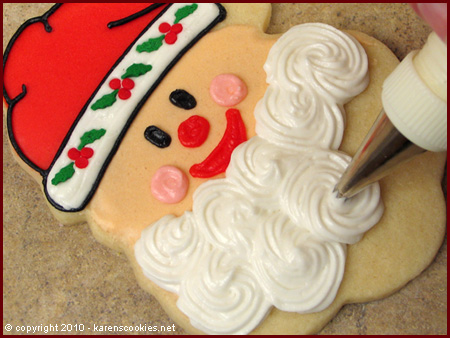
Switch tip on white bag with coupler to tip #16. Fill in the beard area with large swirls of white frosting. Overlap swirls to assure that entire beard area is filled in.
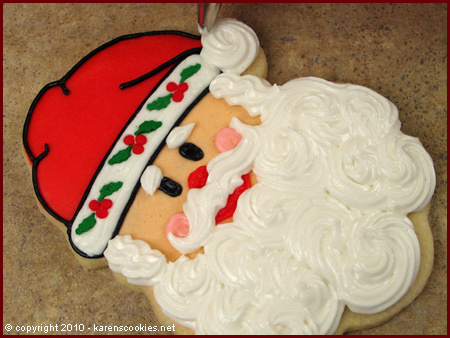
Continuing with tip #16, make short lines over eyes for eyebrows, and a "zig-zag" on either side of the face for sideburns. Starting below the nose, pipe two "S"-shaped lines for the mustache. Finally, make a large swirl for the pompom on the hat.
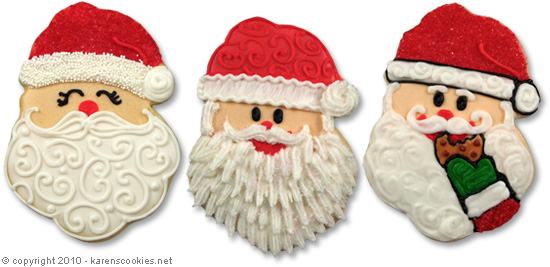
Shown above are a few more designs you can create with this santa cookie cutter. Of course,
there are limitless other techniques you can apply. Get creative and see what you come up with.
Have a Jolly Time!